Wednesday, January 27, 2010

Wedding Trends -- Yellow & Gray

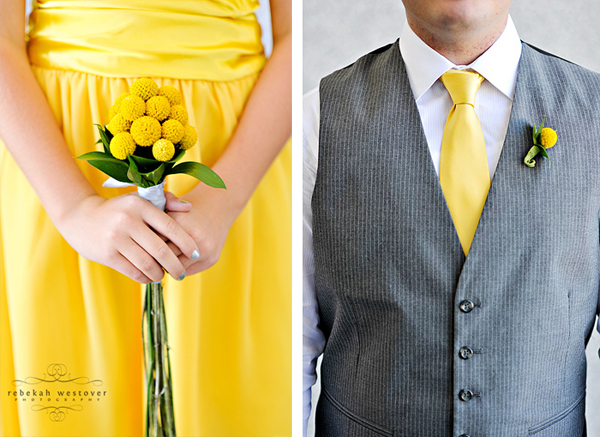
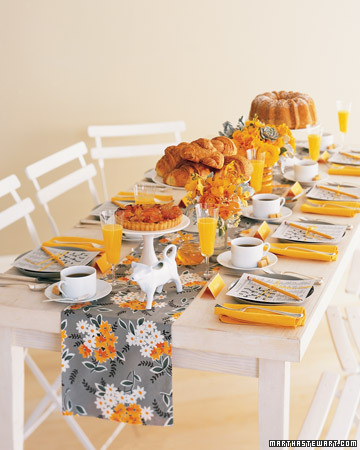
K (my beautiful, dear friend in the engagement pictures below) is planning her 5/1/10 wedding with one of the season's hottest wedding trends... the yellow & gray color palette! Typically, the yellow is bright and/or cheerful (yay!) and the gray can either be muted, or it can be silver... a but more in-your-face. Both work wonderfully, and give different vibes. In her honor, I've done some searching for some cute yellow & gray inspiration to keep us excited until her nuptials. Here you go, K!
yellow and gray invitations
found here


yellow and gray menswear
both above seen here

yellow_grey_wedding_ideas
seen here

seen here


K's turn

Now that my wedding is over, I am really excited to be a part of one of my dear friends, K's wedding. K and I went to the same Women's college and we have a tight knit group of friends. K & E was engaged a couple months before me, but planned their wedding for 15+ from the engagement date... I guess you could say P & I rushed it, since we were married 8 months after getting engaged! K & E's wedding is May 1, 2010 and I cannot wait to be supporting her up on the altar. Below are a few beautiful images of K & E!





Sunday, January 24, 2010

Rehearsal Centerpieces

At my rehearsal dinner, my crafty mother-in-law put together these super cute snowglobes inside of a glass ornament. I had never seen this before, but it was adorable and a huge hit! I came across this in the blog world today and wanted to share so that others might be able to create something just as unique!


DIY instructions for making your own snow globe from Well Worn:

You will need:
All can be found at a craft or haberdashery store.
*A jar of your choice (with a lid)
*Figurines or jewelery
*Anti-rust sealant for metal pieces
*Clear-drying epoxy
*Distilled water
*Dash of glycerin
*Large silver or white glitter (smaller versions will float at the top)
Steps:
1. Use clear-drying epoxy to adhere your piece to the inside of the lid. Let dry per instructions.
2. After the epoxy dries completely, fill your jar with distilled or boiled water (at room temperature, of course).
3. Add just a dash of glycerin so the “snow” falls slowly.
4. Add as much glitter as you like. If you don’t like the look of glitter, you can usually find faux snow at craft and haberdashery stores.
5. Screw your lid on tightly and enjoy your snow globe!

Winter Loveliness

It's a shame that during the majority of wedding planning, I could find NO inspiration or pictures from winter weddings... when I NEEDED it. Now that my wedding has come & gone, and winter is passing us by, the winter ideas are all over the blogs! Of course it makes sense that as winter is here, we put it on the blogs... it just would have been nice if it I'd had all these lovely pictures and blogs when I was needing help planning.

Regardless, check out these from Green Wedding Shoes!

Another Lovely Winter Wedding

I am still waiting to receive the rest of my pictures from my photographer.. in the mean time, I am obsessing over other winter wedding pictures to hold me over. Check out a few lovely ones below.